We're independent: products are chosen on merit and prices come from the retailers' own sites. We may earn a commission if you buy through our links. Learn more.
Key takeaways
- A basic batch is 500 g cake flour, a 10 g sachet of instant yeast, salt, sugar, a little oil and about 300 ml lukewarm water. It makes 12 rolls.
- Let the dough rise for about an hour, then shape the rolls and give them another 15–20 minutes while the coals burn down.
- Roosterkoek wants gentle, fading coals, not the fierce heat you use for steak. Too hot and the outside burns before the middle cooks.
- Turn them every few minutes for 15–20 minutes. They're done when they sound hollow when tapped and spring back when pressed.
- A hinged box grid lets you turn all the rolls in one go, which is the easiest way to cook them evenly.
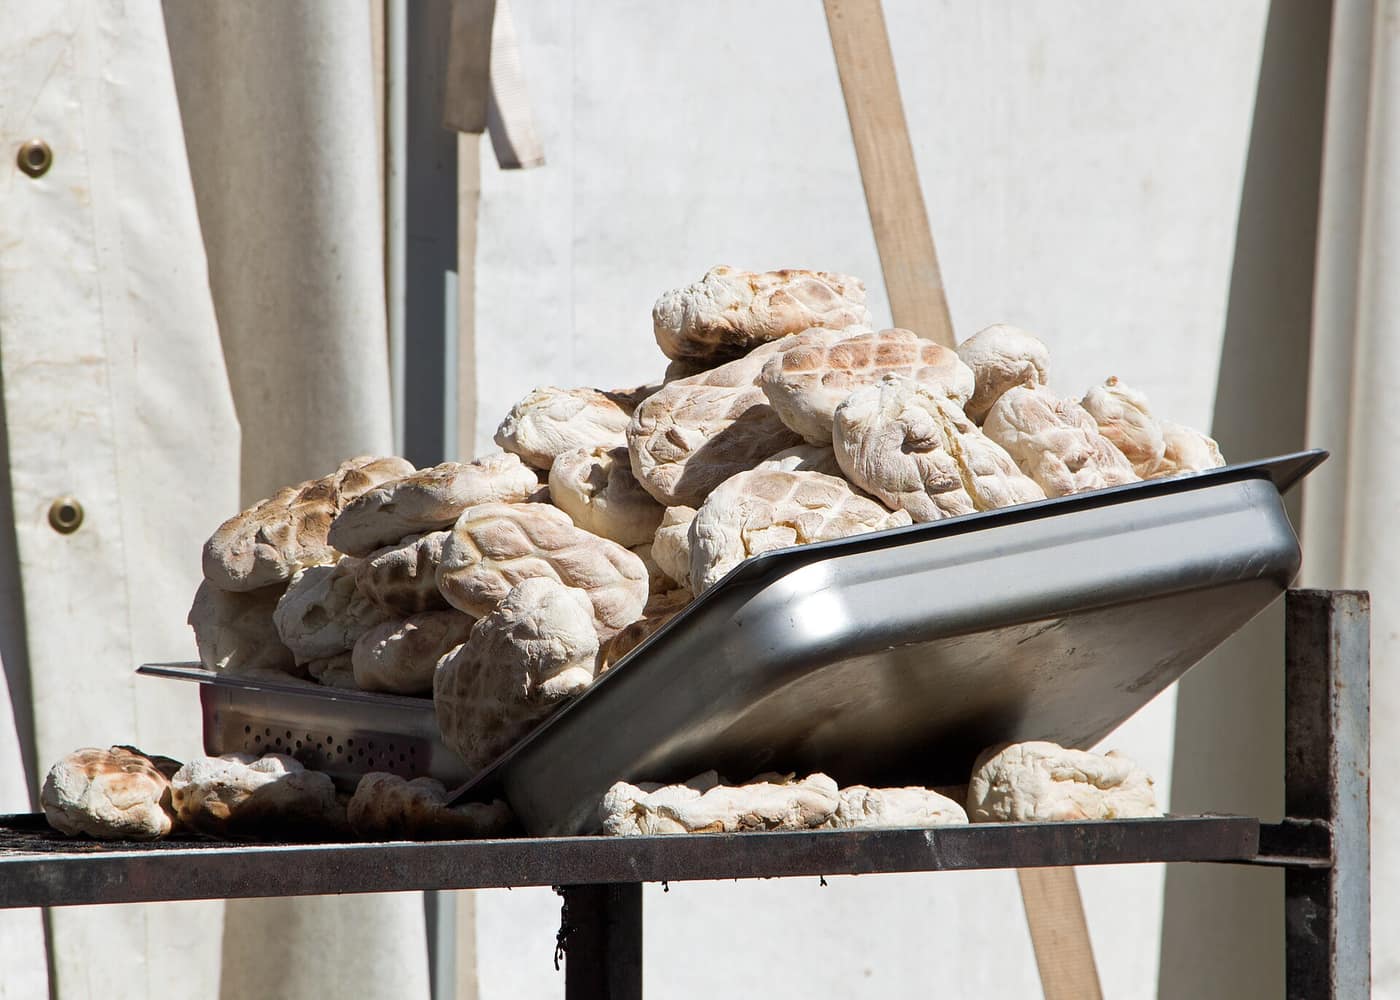
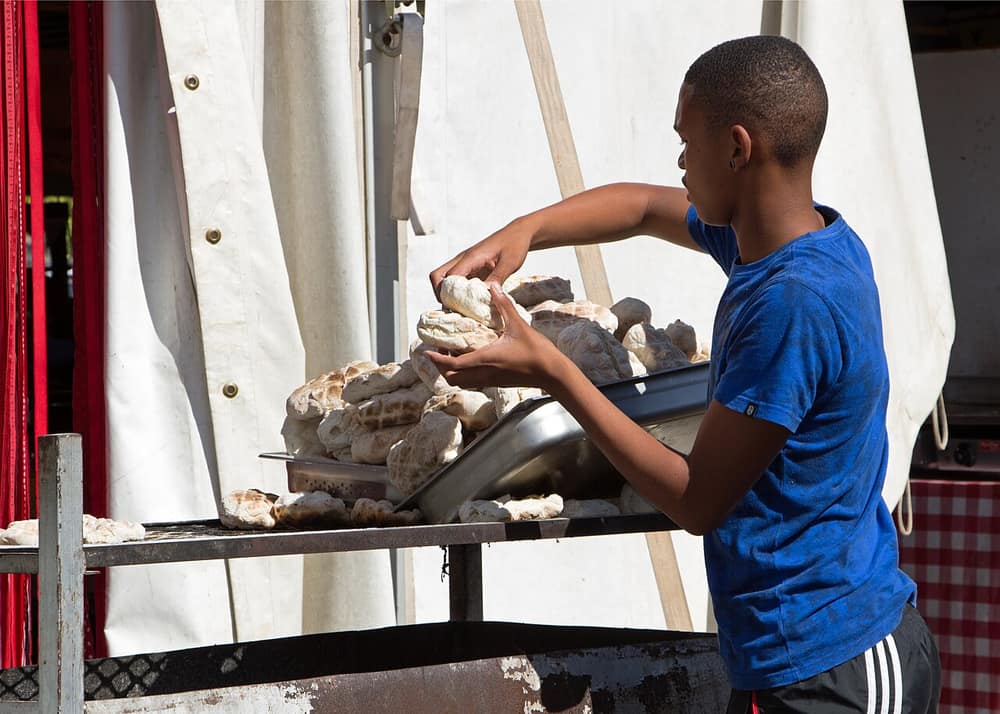
Roosterkoek is the bread that turns a braai into a feast. Soft balls of dough go on the grid over the last of the coals and come off charred, smoky and steaming, ready for butter, apricot jam and grated cheese. Then they disappear, usually before the meat is served.
The good news is that the dough is about the easiest bread you will ever make: flour, yeast, salt, sugar, oil and water. The tricky part is the fire. This guide gives you a reliable recipe, then walks through rising, shaping, coal heat, timing, fillings and the mistakes that leave you with rolls that are burnt outside and doughy inside.
Roosterkoek at a glance
| Makes | 12 rolls |
| Hands-on time | About 20 minutes |
| Rising time | About 1 hour, plus 15–20 minutes after shaping |
| On the braai | 15–20 minutes, turning often |
| Coal heat | Medium to low: fading coals, after the meat or to one side |
| Done when | Sounds hollow when tapped, springs back when pressed |
The classic roosterkoek recipe
Ingredients (makes 12)
- 500 g cake flour (white bread flour works too and gives a chewier roll)
- 1 sachet (10 g) instant dry yeast
- 10 ml (2 tsp) salt
- 15 ml (1 tbsp) sugar
- 30 ml (2 tbsp) sunflower oil
- About 300 ml lukewarm water, plus a little extra if needed
Method
- Mix the flour, yeast, salt and sugar in a big bowl. Instant yeast goes straight in with the flour; there’s no need to activate it first.
- Add the oil and most of the water and mix with your hand or a wooden spoon until it comes together. Add the rest of the water bit by bit. You want a soft dough that isn’t sticky.
- Knead on a lightly floured surface for about 10 minutes, until the dough is smooth and springs back when you poke it.
- Put it back in the bowl, lightly oiled, cover with a damp tea towel or cling wrap and leave somewhere warm for about an hour, until it has doubled in size.
- Knock it back (punch out the air), then shape it into 12 rolls (see below).
- Put the rolls on a floured tray, cover them and let them rise again for 15–20 minutes while the coals get ready.
- Braai over gentle coals for 15–20 minutes, turning every few minutes, until golden with grid marks and cooked through.
Getting the dough right
Flour
Cake flour is what most South African recipes use, because it’s what’s in the cupboard, and it gives a soft, light roll. White bread flour has more protein, so it makes a chewier roll with a bit more structure. Both work. Brown bread flour gives a nuttier, denser roosterkoek; use half brown and half white if you want the flavour without a brick.
How soft should it be?
Soft enough to knead easily, firm enough to hold its shape on the grid. If it’s too wet, the rolls slump and sag between the bars; if it’s too dry, they come out tight and tough. Add the last of the water slowly, because flour absorbs water differently from bag to bag.
Where to let it rise
On a hot summer’s day, anywhere out of the wind works. In winter, put the bowl near (not on) a warm stove, in a cold oven with the light on, or in a sunny window. Dough that rises too slowly is still fine; just start earlier.
Shaping the rolls
Divide the dough into 12 equal pieces (about 70–75 g each if you have a scale). For each one, fold the edges into the middle, turn it over and roll it under your cupped palm on the counter until the top is smooth and tight. Then flatten it slightly to about 3 cm thick.
Flatter rolls cook through faster and more evenly than round balls, which is why most people press them down a little. You can also make rectangles by pressing the dough into a slab and cutting it into squares, which is quicker for a big batch and leaves no scraps.
Coals and heat: the part that matters
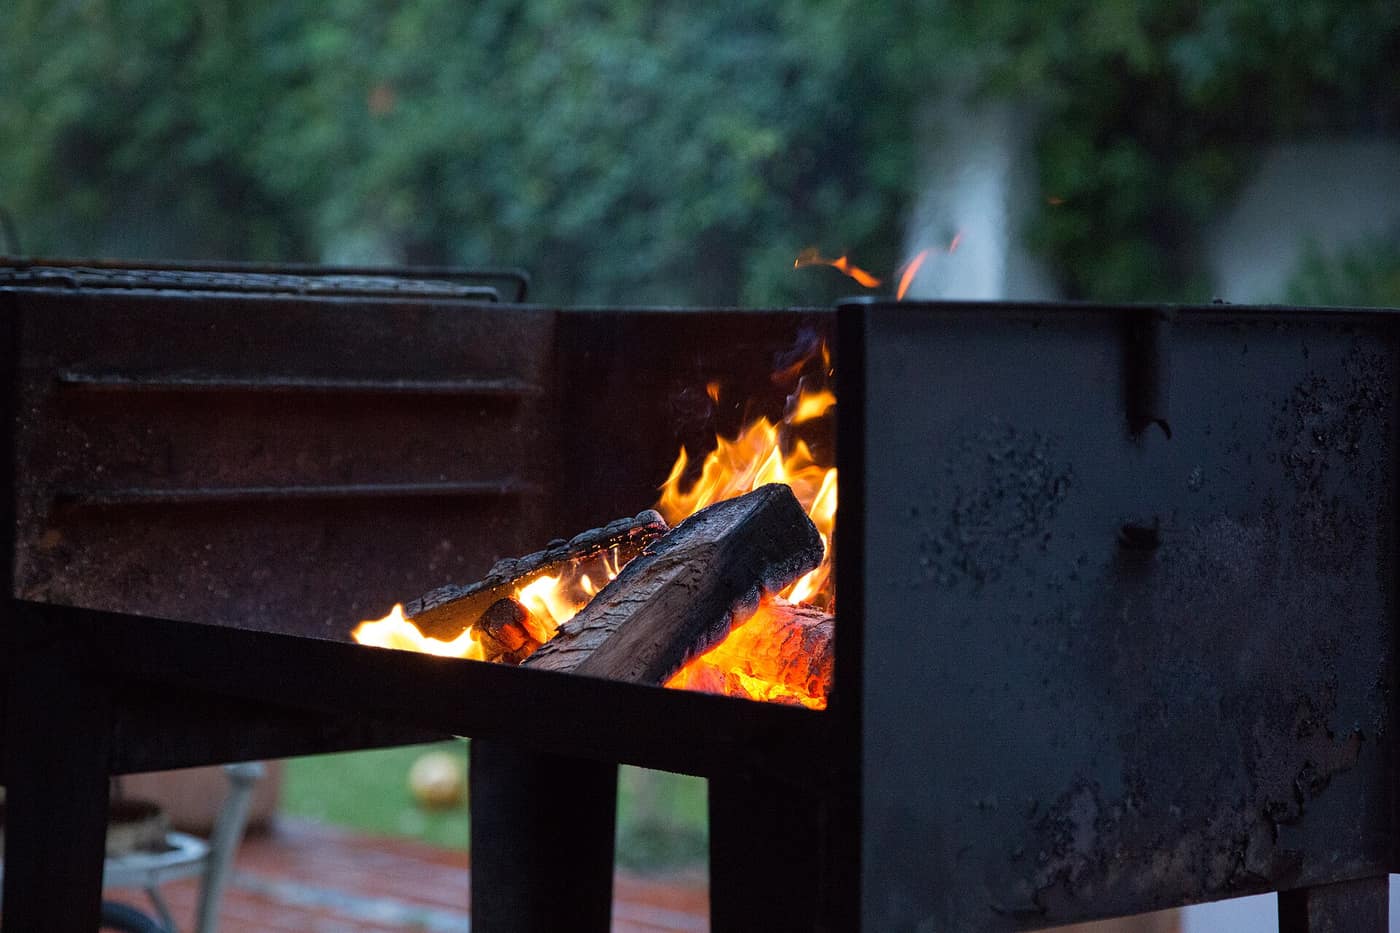
Roosterkoek needs gentle, even heat. Fierce coals char the outside in minutes and leave the inside raw and doughy. That’s why the traditional order is to braai the meat first and put the roosterkoek on the fading coals while the meat rests. Lots of people braai them alongside the meat instead, on a part of the grid with fewer coals underneath. Both work.
The hand test
Hold your palm flat at grid height over the coals and count how long you can keep it there:
| Seconds you can hold | Heat | Good for |
|---|---|---|
| 2–3 | Hot | Steak, not roosterkoek |
| 4–5 | Medium–hot | Chops and wors |
| 6–8 | Medium–low | Roosterkoek |
| 10+ | Low | Keeping things warm |
Raise the grid if your braai allows it, or spread the coals thinner. Our guide to making a braai fire covers getting coals going and managing them.
How long to braai roosterkoek
Expect 15–20 minutes, depending on the heat and how thick the rolls are. Turn them every 3–4 minutes so neither side burns. Some people lightly brush the grid with oil or dust the rolls with flour first, which helps them release cleanly.
How to tell they’re done:
- They’re golden with dark grid marks on both sides.
- They sound hollow when you tap the bottom.
- They spring back when gently pressed instead of leaving a dent.
- If you have a meat thermometer, the middle should read about 90 °C.
If you’re unsure, break one open. Raw dough in the middle is grey and tacky; cooked bread is white and fluffy.
Our braai timer can keep track of the turning while you watch the meat.
Fillings and toppings
The classic way to eat roosterkoek is hot, broken open, with butter, apricot jam and grated Cheddar. Beyond that:
- Breakfast: scrambled egg and bacon, or a fried egg with tomato.
- Savoury: cheese, tomato and onion, or a spoon of chutney with grated cheese.
- Braai leftovers: a piece of boerewors and some chakalaka.
- Sweet: golden syrup, honey or jam with butter.
- Garlic butter: brush the hot rolls with melted butter mixed with garlic and parsley.
Stuffed roosterkoek
You can also put a filling inside the dough before it goes on the fire. Flatten a piece of dough, put a spoon of grated cheese (or cheese with chopped ham, jalapeños or onion) in the middle, fold the edges up and pinch them closed, then flatten slightly. Keep the filling small and away from the edges, or it leaks onto the coals and burns. Stuffed rolls take a few minutes longer.
For more sides, see our list of braai salads, and our braai ideas for full menus.
Common mistakes
- Coals too hot. The most common problem: black outside, raw inside. Wait for the coals to die down, raise the grid or move to the edge of the fire.
- Rolls too thick. Big round balls take too long to cook through. Flatten them to about 3 cm.
- Not enough rise. Dough that hasn’t doubled makes heavy, dense rolls. Give it time, somewhere warm.
- Too much water. Soft, wet dough sags through the grid and sticks.
- Dirty grid. Dough sticks to old fat and burnt bits. Clean the grid well; our braai grid guide covers cleaning and the different types.
- Forgetting to turn. Roosterkoek isn’t a set-and-leave job. Stay at the fire.
Shortcuts and variations
- Ready-made bread dough: many supermarkets and bakeries sell raw bread dough. Shape it into rolls and braai them the same way.
- Quick yeast-free rolls: dough made from self-raising flour, plain yoghurt and a pinch of salt needs no rising time. The rolls are denser than yeast roosterkoek, but they’re ready in minutes.
- Make the dough ahead: mix the dough the morning of the braai, cover it and keep it in the fridge. Take it out an hour or so before you shape it so it can warm up and finish rising.
- Potbrood: the same idea in a flat-bottomed cast-iron pot, with coals underneath and on the lid. If you already have a potjie, our potjiekos guide covers the pots and sizes.
What to buy
You don’t need anything special to make roosterkoek on a normal braai grid. A hinged box grid makes it far easier, and a clean grid stops the dough sticking.

Megamaster
Megamaster 430 x 330 Stainless Steel Box Folding Grid
A box-shaped hinged grid holds a full batch of rolls without squashing them, so you can turn all twelve at once instead of chasing them around with tongs.
- 430 × 330 mm
- Stainless steel
- Adjustable box shape
- Dishwasher safe
- Turns the whole batch in one move
- Stainless steel cleans easily after sticky dough
- Fits about one batch; a big crowd needs two rounds

Megamaster
Megamaster 500 x 400 Stainless Steel Box Folding Grid
The same box design with more room, so a double batch fits with space between the rolls to rise. Worth it if your braai is big enough to take it.
- 500 × 400 mm
- Stainless steel
- Adjustable box shape
- Room for a double batch
- Also good for chops, wors and fish
- Too big for a small kettle or portable braai

ALVA
Long Handle Nylon Bristle Braai Brush With Scraper
Dough sticks to a dirty grid, so start with a clean one. Nylon bristles and a metal scraper on a long handle, for cleaning the grid while it's cold.
- 51 cm handle
- Nylon bristles
- Metal scraper
- No loose wire bristles to end up in your food
- Cheap
- For cold grids only: nylon melts on a hot grid
Prices change often; check the retailer for the current price and stock. We may earn a commission if you buy through these links, at no extra cost to you. Star ratings are the store's own customer reviews, shown once a product has at least 3. How we choose products.
FAQ
How long do you braai roosterkoek?
About 15–20 minutes over medium-low coals, turning every few minutes. Thicker or stuffed rolls take a bit longer.
Why is my roosterkoek raw inside?
The coals were too hot, or the rolls were too thick. The outside browned before the heat could reach the middle. Use gentler coals and flatten the rolls to about 3 cm.
Can I make roosterkoek without yeast?
Yes. A dough of self-raising flour and plain yoghurt with a pinch of salt needs no rising. The rolls are denser than the classic yeast version but quick to make.
Can I make the dough the day before?
You can make it the morning of the braai and keep it covered in the fridge, then let it come to room temperature before shaping. Dough left much longer than that can over-prove and taste sour.
What is the difference between roosterkoek and vetkoek?
They use the same kind of yeast dough. Roosterkoek is cooked on a grid over coals; vetkoek is deep-fried in oil.
Should roosterkoek go on before or after the meat?
Traditionally after, on the fading coals while the meat rests. You can also cook them alongside the meat on a part of the grid with less heat underneath.

Johan Botha
Braai & outdoor editor
Writes our braai, fire pit and pizza oven guides. Firmly in the wood-fire camp, but owns up to a gas braai for weeknights.
More from Johan →