We're independent: products are chosen on merit and prices come from the retailers' own sites. We may earn a commission if you buy through our links. Learn more.
Key takeaways
- Wood needs about 45 minutes to an hour to burn down to coals; charcoal in a chimney starter is ready in about 20 minutes.
- Leave gaps when you stack the fire. Air is what makes wood burn properly, so don't smother it or keep poking it.
- Use the hand test: 2–3 seconds at 10 cm above the grid is hot, 4–5 is medium, 6–7 is medium-low.
- Build a hot side and a cool side, and keep a small fire going at the back for fresh coals.
- Never use petrol or paraffin to start or revive a braai fire. Use proper firelighters.
Most braai disasters start long before the meat goes on. Chops that are charred outside and raw at the bone, wors that splits over flames, a fire that dies just as the chicken needs another ten minutes: nearly all of it comes down to how the fire was built and when the cooking started.
The good news is that a reliable braai fire isn’t a secret. It’s a simple routine: dry fuel, plenty of air, patience, and a quick test before anything touches the grid. Here’s the method for wood and for charcoal, how to read your coals, and the mistakes worth avoiding.
At a glance
| Wood fire | Charcoal / briquettes | |
|---|---|---|
| Time to coals | 45–60 minutes | About 20 minutes in a chimney starter |
| What you need | Braai wood, kindling, firelighters | Charcoal or briquettes, firelighters, chimney (ideal) |
| Ready when | Flames have died down; coals glow under light grey ash | Top coals are covered in grey ash |
| Best for | Weekend braais, flavour, the ritual | Weeknights, kettle braais, predictable heat |
Not sure which fuel to use? Our guide to gas vs charcoal vs wood covers the trade-offs.
What you need
- Fuel: braai wood or charcoal. Dry, local wood makes the biggest difference; see our braai wood guide for which to buy.
- Firelighters, or dry kindling and a few balls of newspaper. Our firelighters guide compares paraffin blocks, eco wood-wool and gel starters.
- Matches or a long lighter.
- A tong, spade or small rake to move logs and spread coals.
- A chimney starter if you use charcoal (optional but very handy).
Method 1: a wood fire, step by step
- Start small in the centre. Place two or three firelighters (or a few balls of newspaper) in the middle of the braai.
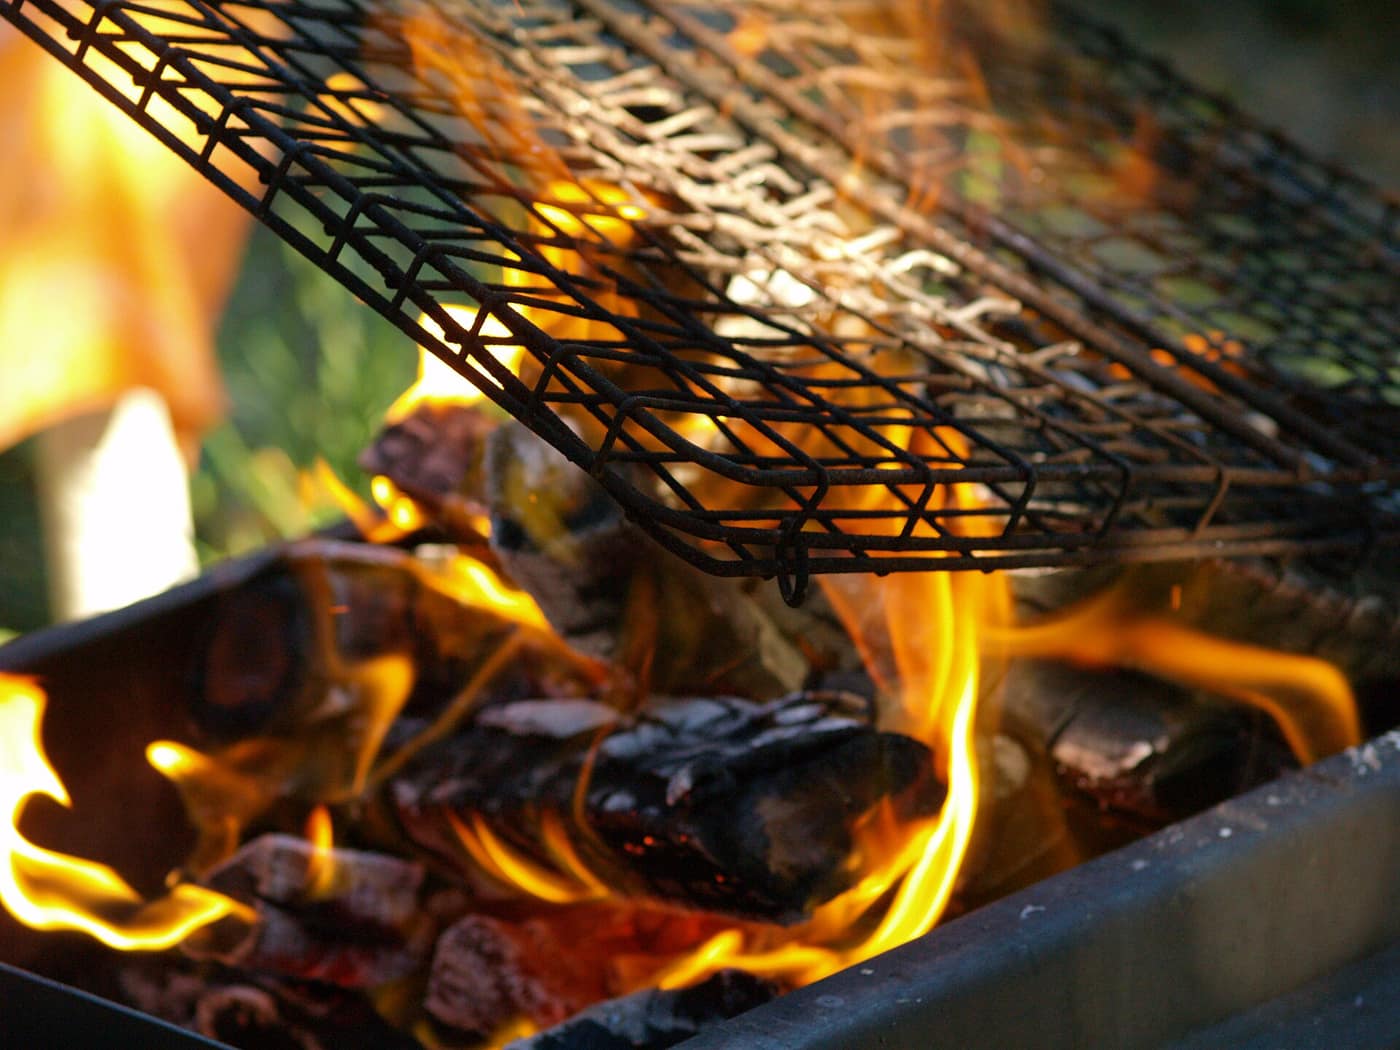
- Build a teepee or log cabin. Stack small, dry kindling over the firelighters, then three to five pieces of braai wood around it. Leave gaps between the pieces: fire needs air.
- Light it and leave it. Light the firelighters and let the wood catch properly. Resist the urge to keep poking it; every time you knock the structure down, you starve it of air.
- Add wood as it burns. Once the first pieces are burning well, add a few more. More wood means more coals, so feed it generously if you’re cooking for a crowd.
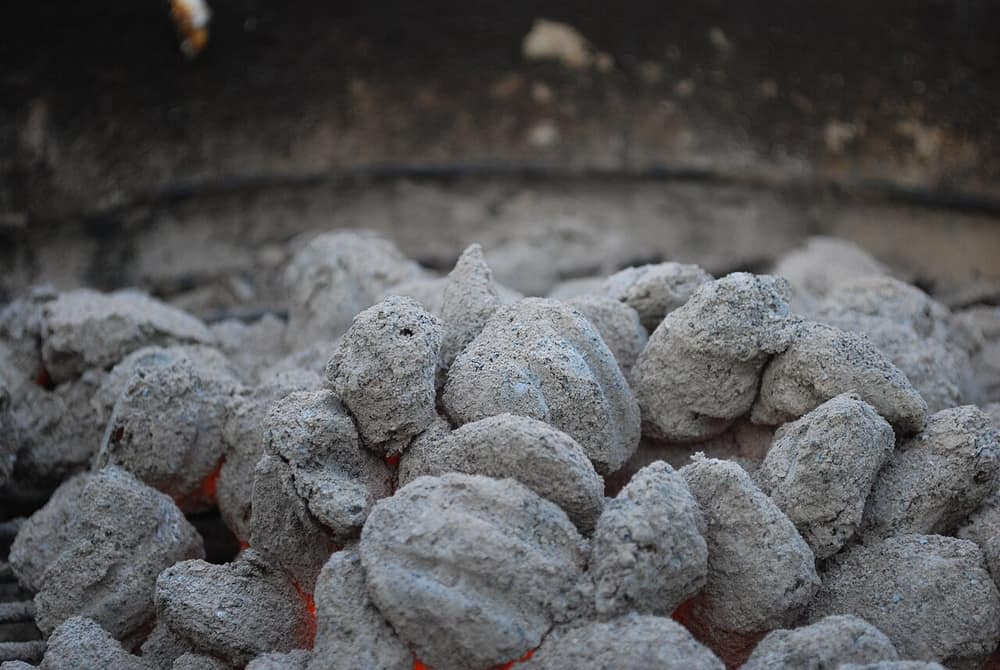
- Wait for the flames to die down. After about 45 minutes to an hour, the wood breaks down into glowing coals covered in a light grey ash.
- Spread the coals. Rake them into an even layer under the grid, slightly wider than the area the meat will cover.
Teepee or log cabin?
Both work. A teepee (logs leaning against each other over the firelighters) catches quickly and burns hot, which suits a quick weeknight fire. A log cabin (pieces stacked in a square, criss-cross layers) collapses into a flatter, more even bed of coals, which is handy for a big grid of chops. Whichever you choose, the gaps matter more than the shape.
Method 2: charcoal or briquettes
Charcoal is wood that has already been burnt down, so it reaches cooking heat much faster than logs.
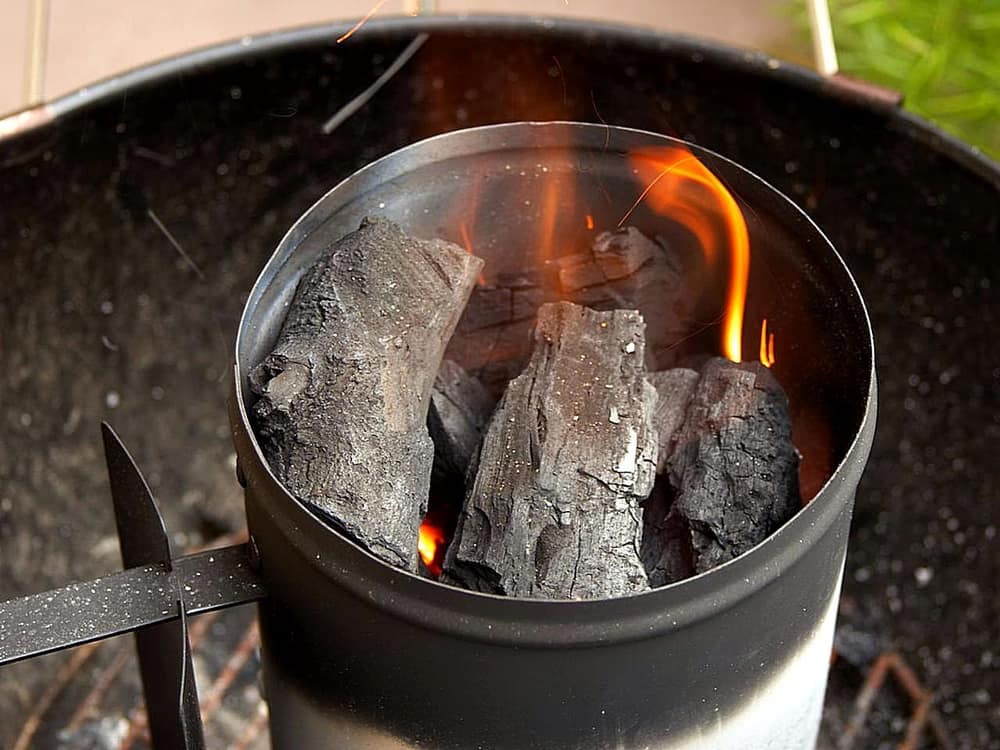
- Use a chimney starter if you can. Put two firelighters on the braai’s charcoal grate, place the chimney over them and fill it with charcoal.
- Light and wait about 20 minutes, until the top coals are covered in grey ash.
- Tip and spread the coals where you want them, using a glove or a long tong.
No chimney? Pile the charcoal into a pyramid over the firelighters, light it, and spread it out once most of the coals have ashed over.
Lump charcoal lights quickly and burns hot but burns out sooner; briquettes take a little longer to get going but give steady heat for longer. Our charcoal and briquettes guide explains how much to use.
Set up heat zones
A flat, even layer of coals is fine for a single batch of wors. For a mixed braai, build zones instead:
- Hot side: a thicker layer of coals for steak, sosaties and searing.
- Cool side: a thinner layer for chicken pieces, bigger cuts and braaibroodjies.
- Back corner: your small “coal factory” fire for top-ups.
Zones give you somewhere to move food when fat drips and flares up, and let you cook slow and fast items on the same fire.
The hand test: are the coals ready?
Hold your hand, palm down, about 10 cm above the grid and count how long you can comfortably keep it there:
| Seconds | Heat | Good for |
|---|---|---|
| 2–3 | Hot | Steak, sosaties, searing |
| 4–5 | Medium | Chops, boerewors, chicken pieces |
| 6–7 | Medium–low | Whole chicken, bigger cuts, braaibroodjies |
Coals that still have flames on them are not ready. Flames scorch the outside before the inside is cooked. For timings and temperatures on the hot side, see how to braai steak. Need to know how much meat to put on all those coals? Our braai meat calculator works it out per person.
Braaiing in wind and cold
Wind is the most common reason a fire runs out early. It makes coals burn hotter and faster, and it blows heat away from the grid. Shield the braai from the wind if you can, build more coals than usual, and keep that side fire going. On cold evenings, plan on extra fuel as well.
Common mistakes
- Cooking too early. Flames mean the fire isn’t ready yet. Wait for grey coals.
- Not enough coals. You need a full layer under the meat. Run out halfway and the last batch suffers.
- Wet wood. Green or damp wood smokes, hisses and gives little heat. Buy dry wood and store it under cover.
- Smothering the fire. Packing wood tightly or prodding it constantly cuts off the air it needs.
- Using paraffin or petrol on the fire. It’s dangerous and it flavours the food.
- Braaiing in the wind without a plan. Shield the braai or build more coals.
Gear that makes it easier
You don’t need much, but a long lighter, a decent tong and a glove make the job safer and quicker. For grids and the rest of the kit, see our braai tools guide.

Alva
Utility Gas Lighter - 2 Pack
A long-reach utility lighter gets the flame right under the firelighters without singeing your knuckles. Two in a pack means one lives at the braai and one in the kitchen drawer.
- Long-reach nozzle
- Refillable
- Safety lock
- Reaches deep into a stacked fire
- Costs less than a bag of wood
- Gas lighters struggle in strong wind; shield the flame with your body

Megamaster
Megamaster Locking Tong
A solid stainless tong does double duty: rearranging logs and coals while the fire burns down, then turning the meat once it's ready.
- Stainless steel
- Locking mechanism
- Wood finish
- Locks shut for storage
- Sturdy enough to move burning logs
- You'll still want a small spade or rake for spreading a big bed of coals

ALVA
5Pc BBQ / Braai Tool Set With Case
If you're setting up a braai from scratch, this covers the basics in one zip-up case, including a heat-resistant glove for when you need to shift the grid.
- Stainless steel utensils
- Rubberised grip handles
- Silicone-grip glove
- Zip-closing carry case
- Glove included for handling a hot grid
- Everything stays together in the case
- Shorter tools than you'd want over a big wood fire
Prices change often; check the retailer for the current price and stock. We may earn a commission if you buy through these links, at no extra cost to you. Star ratings are the store's own customer reviews, shown once a product has at least 3. How we choose products.
Safety and putting the fire out
- Keep children and pets away from the fire, and never leave it unattended.
- Keep water, a hose or a fire blanket nearby.
- When you’re done, let the coals burn out completely or douse them thoroughly with water.
- Never put warm ash or coals in a plastic bin. Coals can stay hot for many hours after they stop glowing.
FAQ
How long does a braai fire take to be ready?
A wood fire usually takes about 45 minutes to an hour to burn down to coals. Charcoal in a chimney starter is ready in about 20 minutes. Wet wood and wind make it take longer.
How do I know when braai coals are ready?
The flames have died down and the coals glow under a light grey ash. Then do the hand test: 2–3 seconds at 10 cm above the grid is hot, 4–5 seconds is medium.
Can I use paraffin or petrol to light a braai?
No. It’s dangerous and it taints the food. Use firelighters, or dry kindling and newspaper.
Why does my braai fire keep going out?
Usually the wood is wet, or the fire has too little air because the wood is packed too tightly. Use dry wood, leave gaps between the pieces and stop poking it while it gets going.
How do I keep a braai fire going for a long time?
Keep a small fire burning at the back or side and feed it a log every now and then. When the cooking coals fade, rake fresh coals across.

Johan Botha
Braai & outdoor editor
Writes our braai, fire pit and pizza oven guides. Firmly in the wood-fire camp, but owns up to a gas braai for weeknights.
More from Johan →