We're independent: products are chosen on merit and prices come from the retailers' own sites. We may earn a commission if you buy through our links. Learn more.
Key takeaways
- The classic braaibroodjie is white or brown sliced bread with cheddar, tomato, onion and chutney, buttered on the outside.
- Cook them over low, grey coals, usually after the meat is off. Hot coals burn the bread before the cheese melts.
- A hinged (toeklap) grid holds the sandwiches together so you can turn the whole batch at once.
- Turn every minute or two for about 10–15 minutes in total, until both sides are golden and the cheese is running.
- Make them shortly before you braai: tomato makes the bread soggy if they stand for hours.
Ask anyone what they want from a braai and the meat gets the first mention, but the braaibroodjies are often what disappears first. A toasted sandwich of cheese, tomato, onion and chutney, smoky from the coals and dripping at the edges, is about as South African as food gets.
It is also easy to get wrong. Put braaibroodjies on too early and you get black bread around cold cheese; build them too far ahead and the tomato turns them soggy. This guide covers the classic recipe, how to build them, how hot the coals should be, how to use a hinged grid, and fillings worth trying once you have the basics down.
Braaibroodjies at a glance
| Makes | 12 braaibroodjies from one loaf |
| Prep time | About 20 minutes |
| On the braai | About 10–15 minutes, turning every minute or two |
| Coal heat | Low to medium-low: grey, burnt-down coals, usually after the meat |
| You need | A hinged (toeklap) grid, ideally a box grid |
| Done when | Both sides are golden brown and the cheese has melted |
The classic braaibroodjie recipe
Ingredients (12 braaibroodjies)
- 1 loaf white or brown sliced bread (24 slices)
- 100–125 g soft butter
- 300 g mature cheddar, grated
- 3 ripe but firm tomatoes, thinly sliced
- 1 onion, sliced into thin rings
- 125 ml fruit chutney
- Salt and black pepper
Method
- Butter every slice on one side. Lay out half the slices buttered-side down.
- Spread chutney on the unbuttered side of those slices.
- Add a layer of cheese, then tomato and onion. Season with salt and pepper.
- Finish with a second layer of cheese and close with the remaining slices, buttered-side up.
- Pack the sandwiches into a hinged grid and close it firmly.
- Braai over low coals for about 10–15 minutes, turning every minute or two, until both sides are golden and the cheese has melted.
Cut them in half diagonally and serve straight away, with the meat or on their own.
How to build a braaibroodjie that holds together
The order of the layers matters more than it looks. Cheese on both sides of the filling acts as glue: when it melts, it holds the tomato and onion in place and stops the sandwich sliding apart when you cut it.
- Butter on the outside, not the inside. The butter is what turns the bread golden and crisp. Unbuttered bread dries out and chars.
- Chutney against the bread. Spread it straight on the slice so it doesn’t make the tomato slippery.
- Slice the tomato thinly. Thick slices hold more water and keep the middle cold. Some people pat them dry on paper towel first.
- Thin onion rings, or chopped onion. Thick rings stay crunchy and push the slices apart. For a softer result, fry the onion briefly first.
- Use ordinary sliced bread. Supermarket sliced bread holds up on the grid; an artisan loaf with big holes tends to leak cheese into the fire.
The right coals for braaibroodjies
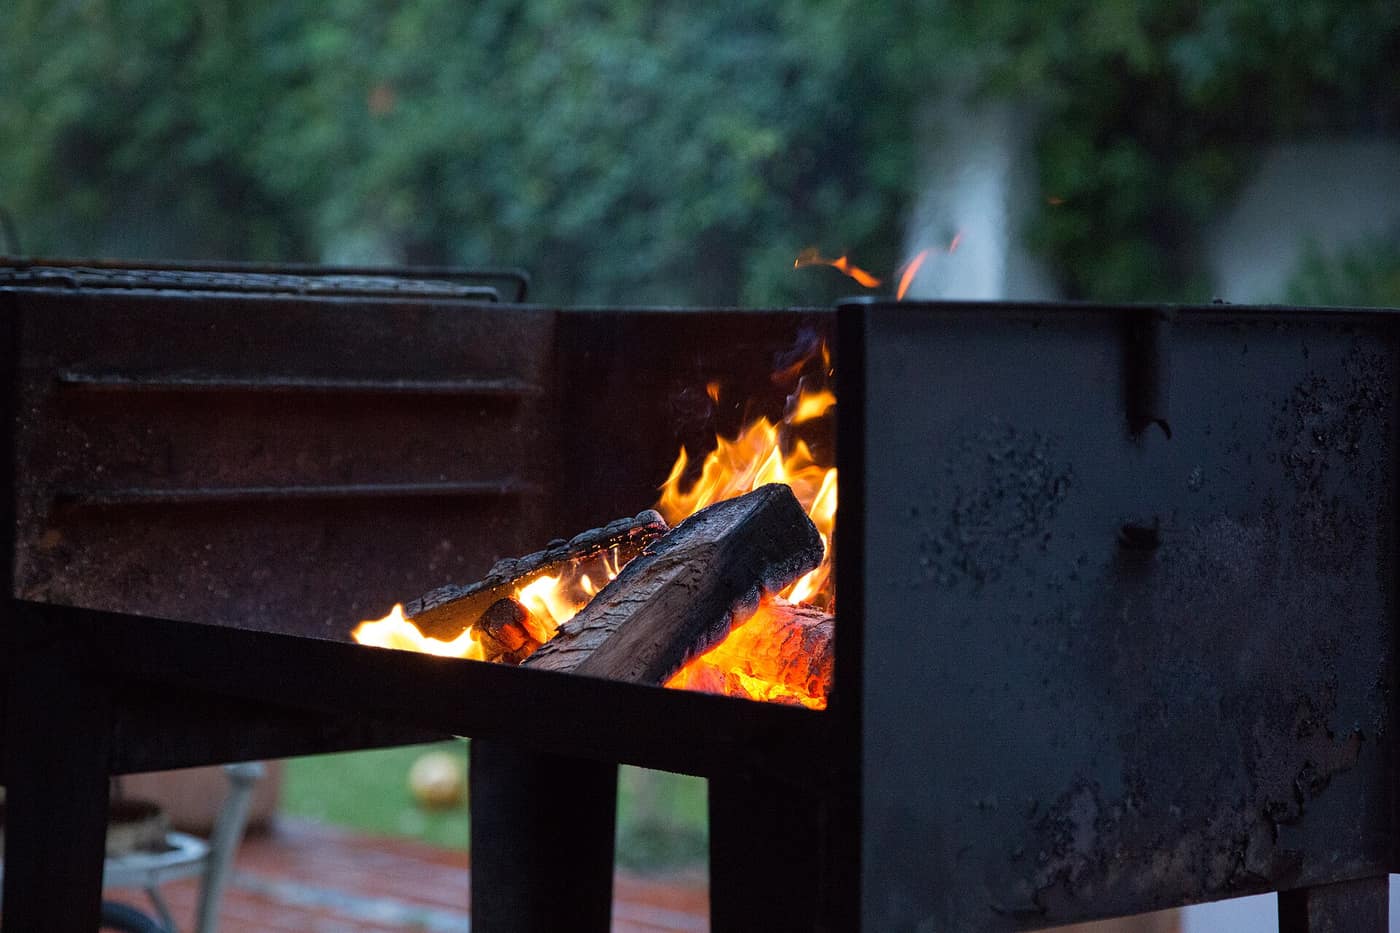
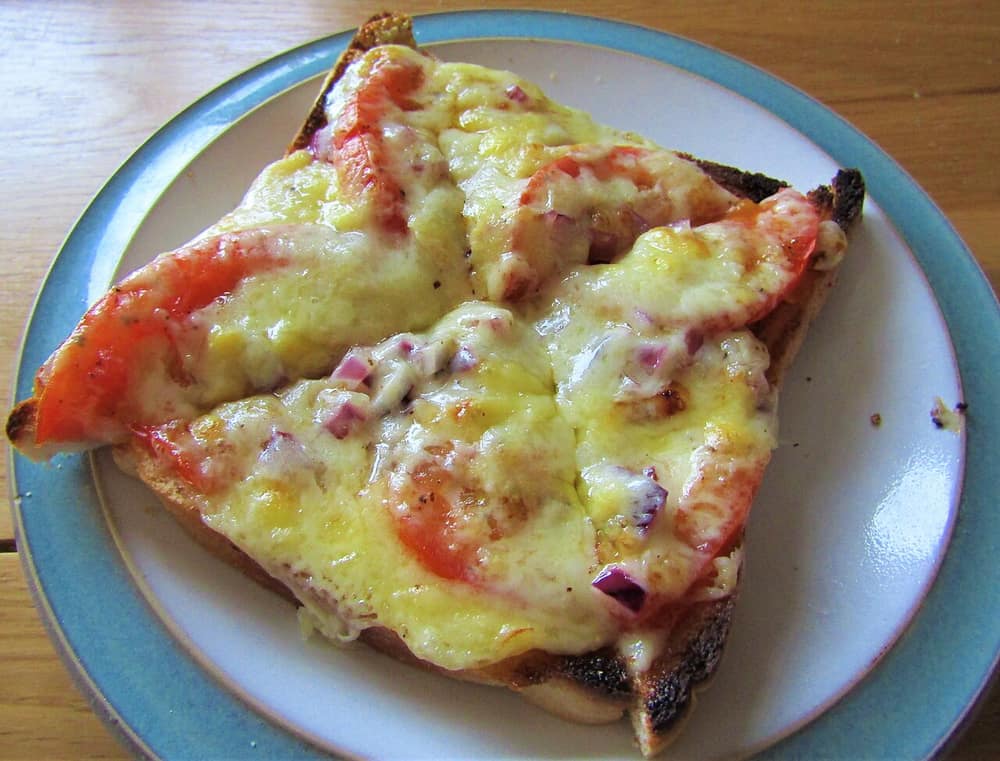
Low heat is the whole secret. Braaibroodjies need time for the cheese in the middle to melt, and fierce coals toast the outside in a couple of minutes. That’s why most people braai them at the end, once the meat is off and the coals have burnt down to an even grey.
Use the hand test from our guide on how to make a braai fire: hold your palm, face down, about 10 cm above the grid and count. For braaibroodjies you want to manage at least 6 to 7 seconds before it gets uncomfortable, which is medium-low heat. If you can only manage 2 or 3 seconds, the coals are still far too hot for bread.
If you want to serve them with the meat rather than after it, there are two ways:
- Rake a cool zone. Push some coals to one side and spread them thinly, and cook the broodjies over that while the meat cooks over the hot side.
- Raise the grid. On a braai with adjustable grid heights, move the broodjies to the highest setting.
Wood coals and charcoal both work. Many people prefer the flavour of wood, and our guide to the best braai wood covers which woods give the most even coals. Briquettes give steady, even, long-lasting heat; let them burn down before the broodjies go on.
Using a hinged (toeklap) grid
You can braai single sandwiches on an open grid with tongs, but it’s fiddly: the fillings slide out and every sandwich needs turning one by one. A hinged grid, the toeklaprooster, clamps the whole batch in place so you turn everything in one move.
A box-shaped hinged grid is the best choice. Its sides allow the two halves to sit further apart, so thick sandwiches are held firmly without being crushed. A flat hinged grid also works, as long as you don’t force it shut so hard that the cheese squeezes out. Our braai grid guide compares the types and materials.
Grid tips for braaibroodjies:
- Clean the grid first. Old fat and charred bits stick to bread and taste bitter.
- Brush the grid with a little oil before packing in the sandwiches, so the bread doesn’t stick.
- Leave a little space between the sandwiches so the edges toast too.
- Turn often, every minute or two, rather than giving each side a long stretch. It’s the frequent turning that lets the middle catch up with the outside.
How long to braai braaibroodjies
Over low coals, braaibroodjies usually take about 10 to 15 minutes in total. The exact time depends on the coals, the thickness of the sandwiches and how cold the filling was.
| Sign | What it means |
|---|---|
| Bread pale and soft after 5 minutes | Coals are low enough; keep turning |
| Bread dark brown after 3 minutes | Too hot. Lift the grid or move to cooler coals |
| Cheese starting to drip at the edges | Nearly done |
| Both sides golden, cheese running | Ready to serve |
Serve them soon after they come off. Braaibroodjies are at their best within a few minutes, while the cheese is still molten and the bread is crisp.
Fillings and variations
Once you have the classic down, braaibroodjies take almost any filling that melts or softens. Keep the cheese layers on the outside of the filling so the sandwich still holds together.
| Variation | Filling | Good with |
|---|---|---|
| Classic | Cheddar, tomato, onion, chutney | Anything |
| Three cheese | Cheddar, mozzarella and a little feta | Lamb chops |
| Ham and cheese | Sliced ham, cheddar, a little mustard | Breakfast the next day |
| Leftover wors | Sliced braaied boerewors, cheese, chutney | The morning after a braai |
| Mushroom | Fried mushrooms, garlic butter, mozzarella | A meat-free braai |
| Sweet | Banana and a smear of peanut butter, or apricot jam | Dessert on the embers |
Leftover boerewors is one of the best fillings there is: slice it thinly so the sandwich still closes. For a vegetarian braai, mushroom or three-cheese broodjies sit well next to the halloumi skewers and stuffed butternut in our braai ideas guide.
Making them ahead (and when not to)
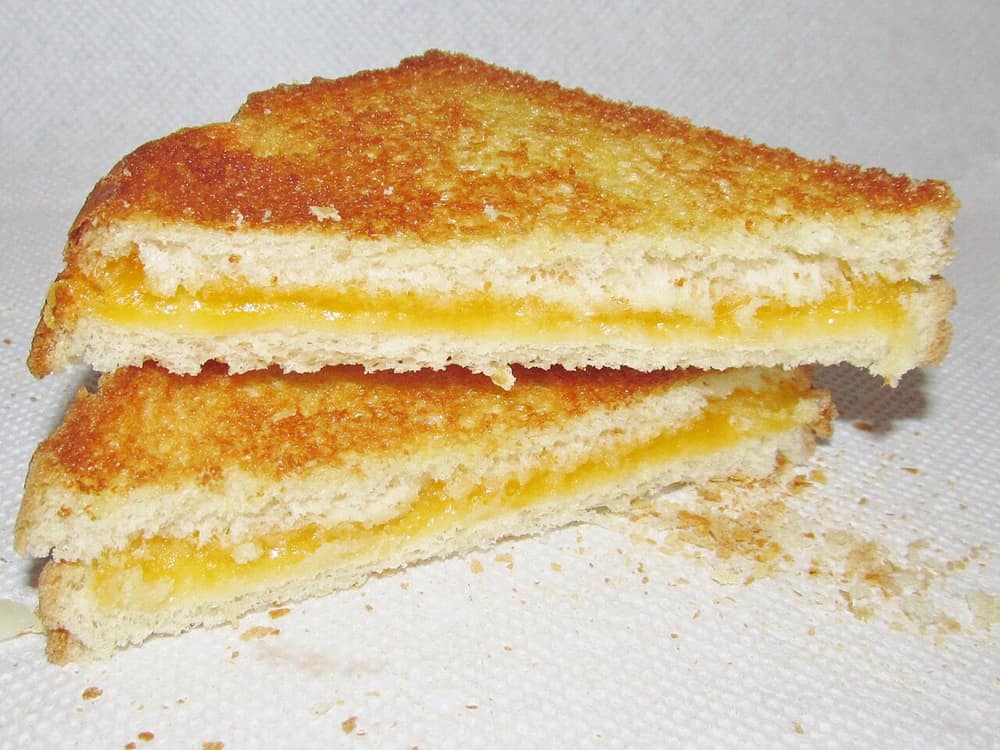
You can butter the bread, grate the cheese and slice the vegetables a few hours ahead and keep them covered in the fridge. Assemble the sandwiches shortly before they go on the fire, because the tomato’s juice soaks into the bread if they stand for a long time.
For a big crowd, assemble the first batch while the meat cooks and the second while the first is on the grid. One loaf makes 12 braaibroodjies, enough for about six people as a side. For planning the rest of the meal, our braai meat calculator works out quantities per person, and braai salads covers what to serve alongside.
Common mistakes
- Coals too hot. The most common problem by far. Wait until the coals are grey and you can hold your palm 10 cm above the grid for 6 to 7 seconds.
- Too much filling. Overstuffed sandwiches don’t close in the grid and the middle stays cold.
- Thick tomato slices. They add water and keep the centre from heating through.
- Not turning often enough. Long stretches on one side burn the bread. Turn every minute or two.
- Making them hours ahead. The bread goes soggy. Prep the parts, then assemble late.
- A dirty grid. Last weekend’s fat makes the bread stick and taste burnt.
What to buy
A good hinged grid is the one piece of kit that makes braaibroodjies easy. A box grid in stainless steel holds the sandwiches firmly and cleans up easily afterwards.

Megamaster
Megamaster 430 x 330 Stainless Steel Box Folding Grid
The box shape adjusts to the thickness of the sandwiches, so a full batch is held firmly without the filling being squeezed out. Big enough for six to eight broodjies on most braais.
- 430 × 330 mm
- Stainless steel
- Adjustable box shape
- Dishwasher safe
- Holds thick broodjies without squashing them
- Stainless steel cleans easily after melted cheese
- Pricier than a galvanised grid

Megamaster
Megamaster 250 x 250 Stainless Steel Box Folding Grid
The same box design in a size that suits a kettle braai, a portable braai or a couple who only want a few broodjies.
- 250 × 250 mm
- Stainless steel
- Adjustable box shape
- Fits small braais and camping fires
- Cheapest of the three box grids here
- Only about four sandwiches at a time

Megamaster
Megamaster 500 x 400 Stainless Steel Box Folding Grid
More room for a big batch, so a loaf's worth of broodjies goes on in one or two rounds instead of three.
- 500 × 400 mm
- Stainless steel
- Adjustable box shape
- Room for a large batch
- Also good for chops, wors and roosterkoek
- Too big for a small kettle or portable braai

ALVA
Long Handle Nylon Bristle Braai Brush With Scraper
Melted cheese welds itself to a grid. A nylon brush with a metal scraper gets it off once the grid has cooled.
- 51 cm handle
- Nylon bristles
- Metal scraper
- No loose wire bristles to end up in your food
- Cheap
- For cold grids only: nylon melts on a hot grid
Prices change often; check the retailer for the current price and stock. We may earn a commission if you buy through these links, at no extra cost to you. Star ratings are the store's own customer reviews, shown once a product has at least 3. How we choose products.
Prices were checked in November 2026 and change often; the cards show the latest price we found. The same grids are ideal for roosterkoek, the other classic for low coals at the end of a braai.
FAQ
What do you put in a braaibroodjie?
The classic filling is grated cheddar, sliced tomato, onion and fruit chutney, with butter on the outside of the bread and salt and pepper inside. Popular variations add ham, leftover boerewors, mushrooms or a mix of cheeses.
How hot should the coals be for braaibroodjies?
Low to medium-low. Wait until the coals are covered in grey ash and you can hold your hand about 10 cm above the grid for at least 6 to 7 seconds. Over hotter coals, the bread burns before the cheese melts.
How long do braaibroodjies take on the braai?
About 10 to 15 minutes over low coals, turning every minute or two. They’re ready when both sides are golden brown and the cheese has melted.
Do you butter both sides of a braaibroodjie?
Butter the outside of each slice, the side that faces the coals. That gives a golden, crisp crust. The inside gets chutney and the filling, not butter.
Can you make braaibroodjies without a hinged grid?
Yes, on an open grid using tongs, but turn them carefully because the filling can slide out. A hinged grid is much easier, because you turn all the sandwiches in one move.
Can you make braaibroodjies ahead of time?
Prepare the ingredients a few hours ahead, but assemble the sandwiches shortly before they go on the braai. If they stand too long, the tomato makes the bread soggy.

Johan Botha
Braai & outdoor editor
Writes our braai, fire pit and pizza oven guides. Firmly in the wood-fire camp, but owns up to a gas braai for weeknights.
More from Johan →